New Installation - Laval
Installation of New Pools
At Piscines TR, we establish relationships with our clients founded on honesty, trust, and transparency. Our skilled team prioritizes understanding your needs and adhering to your budget in every situation. Our ultimate goal is to install a pool that exceeds your expectations, all within the agreed-upon timeframe.
Below, you'll find comprehensive details regarding pool installation by Piscines TR. Take your time to review them thoroughly, and don't hesitate to reach out if you have any questions or need further assistance!
- Planning Your Design
- Marking and Preparation
- Excavation and Concrete Pouring
- Structure Installation and Sidewalk Placement
- Shaping and Completion of Work
Designing Your Plan
Piscines TR will collaborate closely with you throughout the design phase of your plan. Each step of the way, we'll dedicate our efforts to crafting a project that mirrors your vision and meets your requirements for an in-ground pool.
- Our priorities are respecting your budget and ensuring the highest quality standards in the in-ground pool industry.
- Throughout your project, we emphasize the quality of materials and excellence in installation.
- Piscines TR offers a complimentary plan for your in-ground pool.
- Your plan is crafted using your location certificate, up-to-date safety regulations, and municipal restrictions.
- We conduct a home visit to measure access points and potential obstacles, such as walls, house heat pumps, gutters, and fences.
- With the provided plan, you can apply for a construction permit from your municipality to move forward with your project.

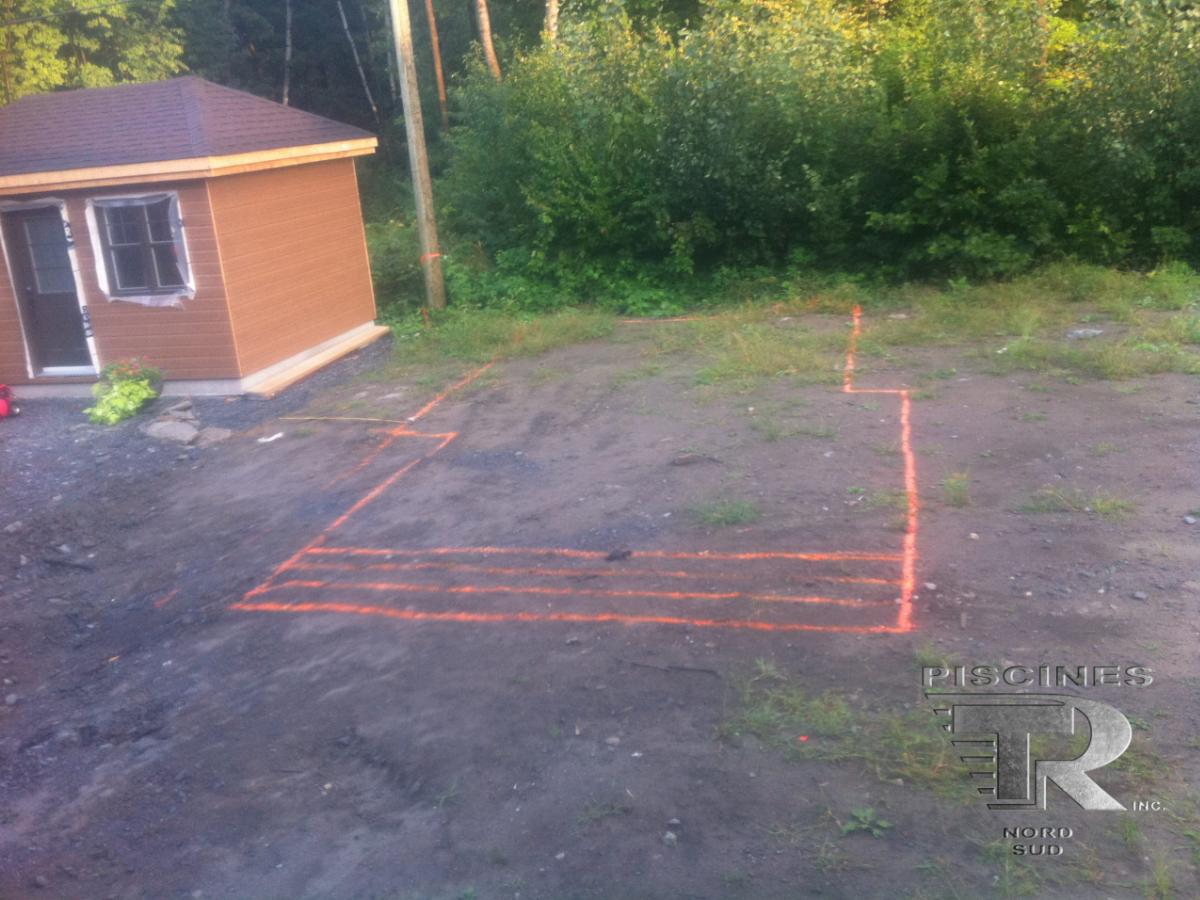
Marking the Pool
Prior to excavating your pool, Piscines TR will visit to mark out the placement of your pool and associated equipment on your property: shed, filtration system, additional concrete, etc.
During this phase, adjustments to the pool positioning are still feasible while adhering to the limits set by your municipality.
Once excavation is underway, altering the positioning becomes nearly impossible. This underscores the importance of Piscines TR's close collaboration with you during the planning and marking stages on your property.
Pool Excavation
Before starting excavation in your yard, secure a permit from your municipality (cost varies from $50 to $300, depending on the municipality). Then, reach out to Info-Excavation (visit http://www.info-ex.com/) to check for buried items like telephone or cable wires, underground gas lines, water mains, etc.
If your house has a French drain, we'll dig a trench to install a membrane-covered drain connecting the pool's French drain to the house's.
Subsequently, we'll layer the drain with roughly 6" to 12" of ¾ NET stone for efficient and long-lasting drainage. If your house lacks a French drain or if it's malfunctioning, we'll install a water retention well to pump accumulated water around your pool.

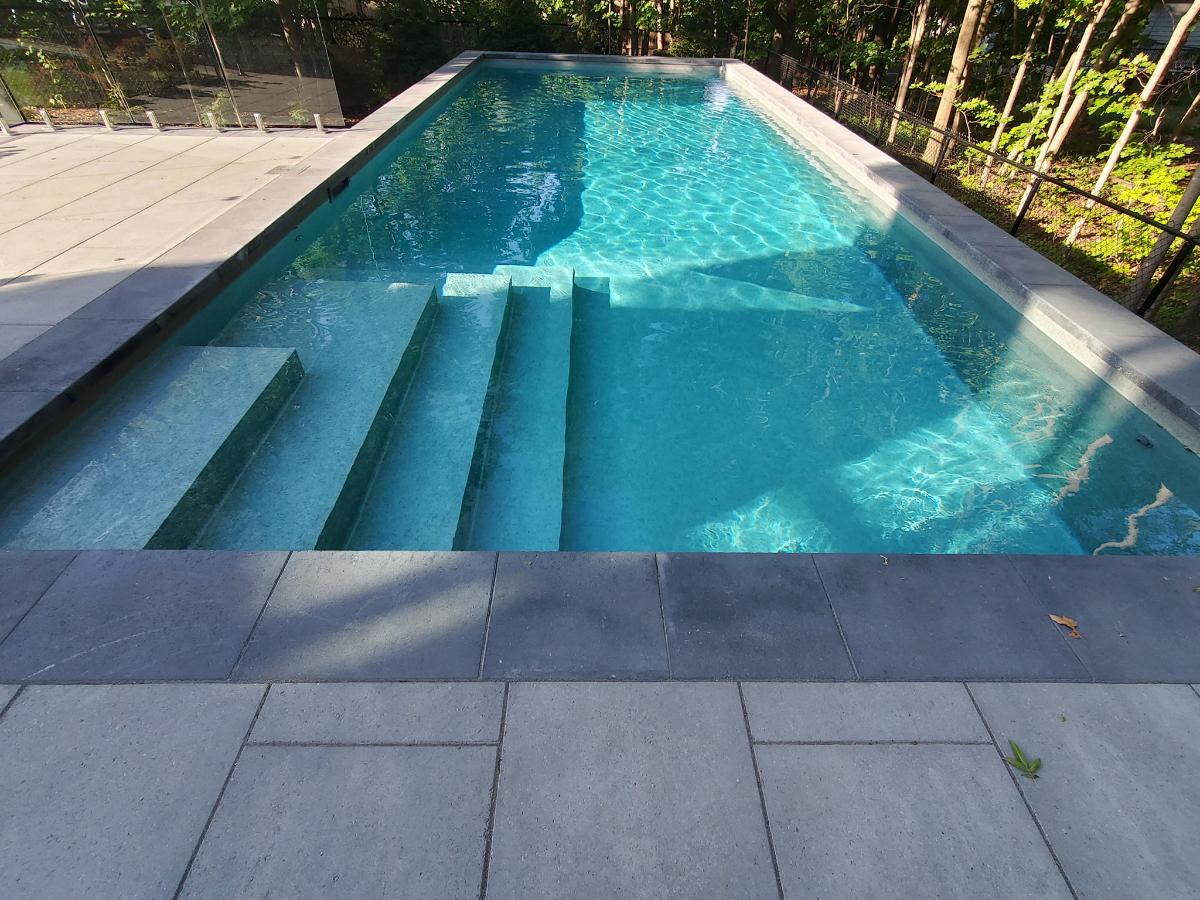
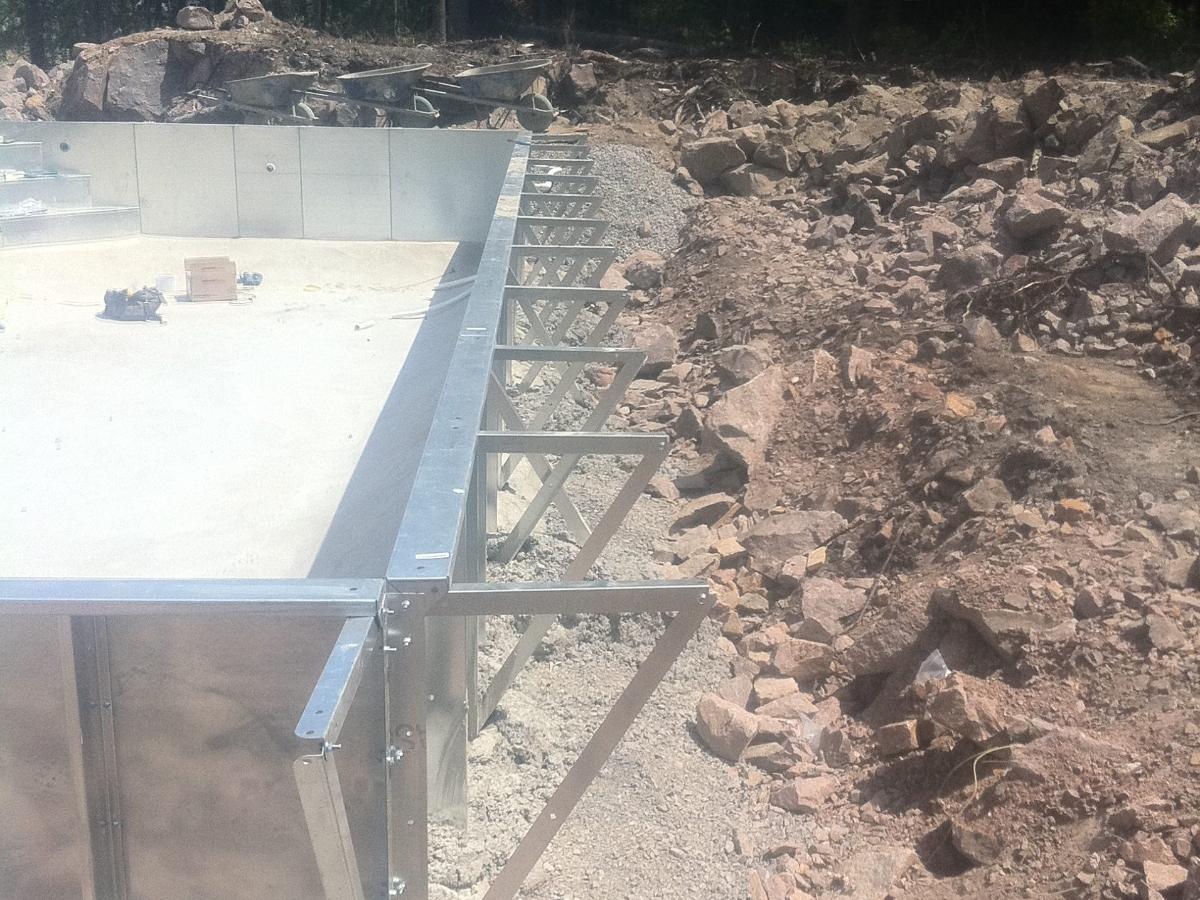
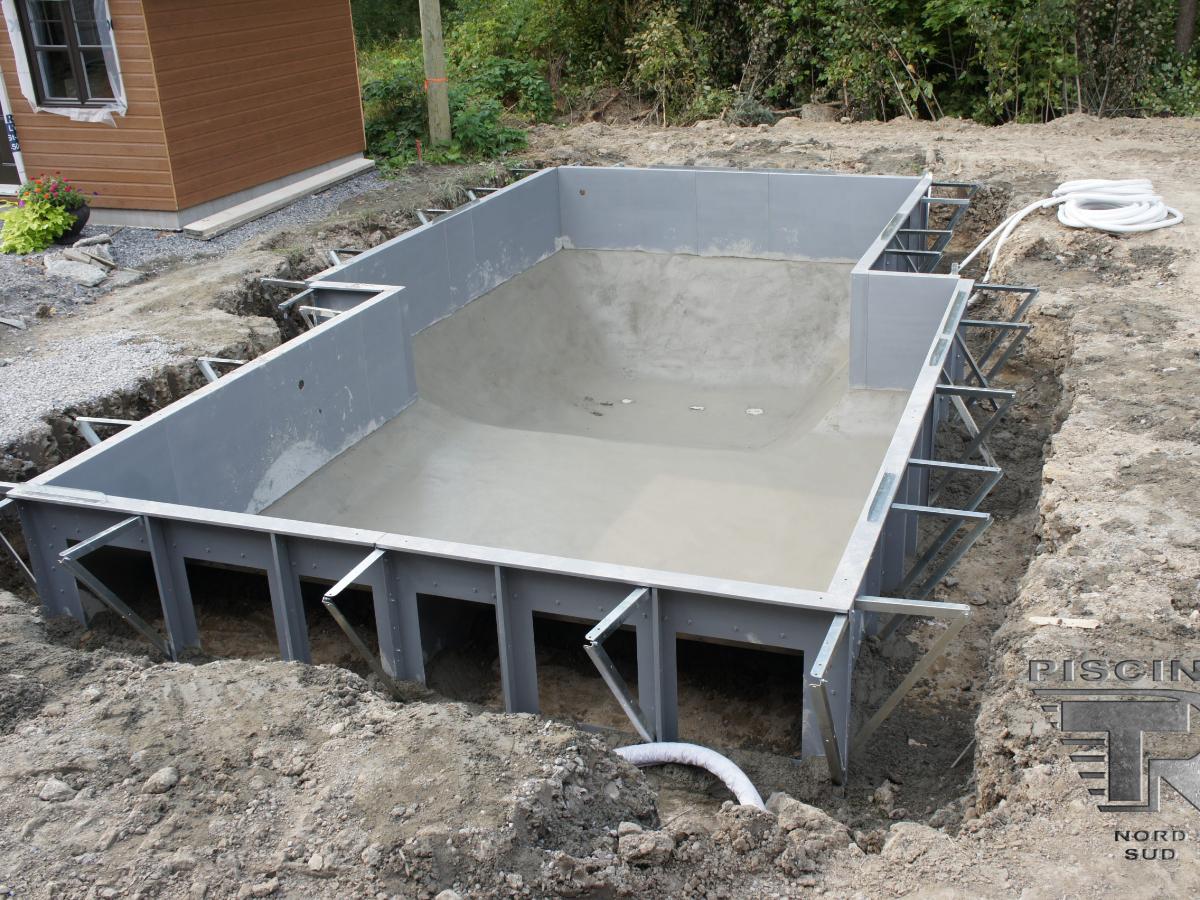
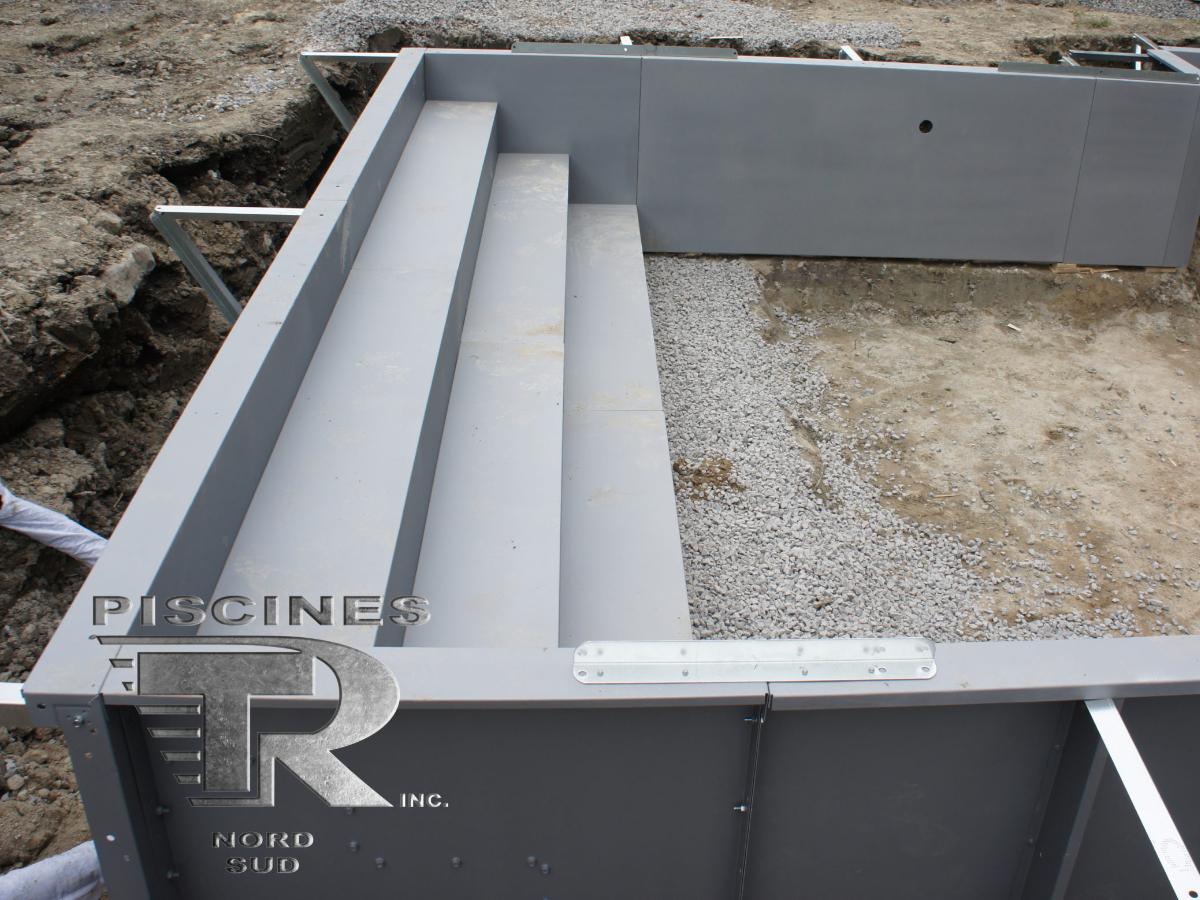
Steel Structure Installation
Once the excavation is completed, we will install galvanized steel panels coated with a hybrid anti-corrosion process, combining the strength of steel with the benefits of resin, along with "ember" steel X and 7 supports.
We install two bottom drains in the center of the deep end. If you have chosen a fiberglass or plastic step, it will be attached to the steel walls.
We strongly recommend opting for a steel or concrete step covered by the liner for aesthetic and durability reasons. This will give you a 100% steel structure with an incomparable result. Once the structure is in place, we secure it using "rode" metal rods and perform levelling using a transit.
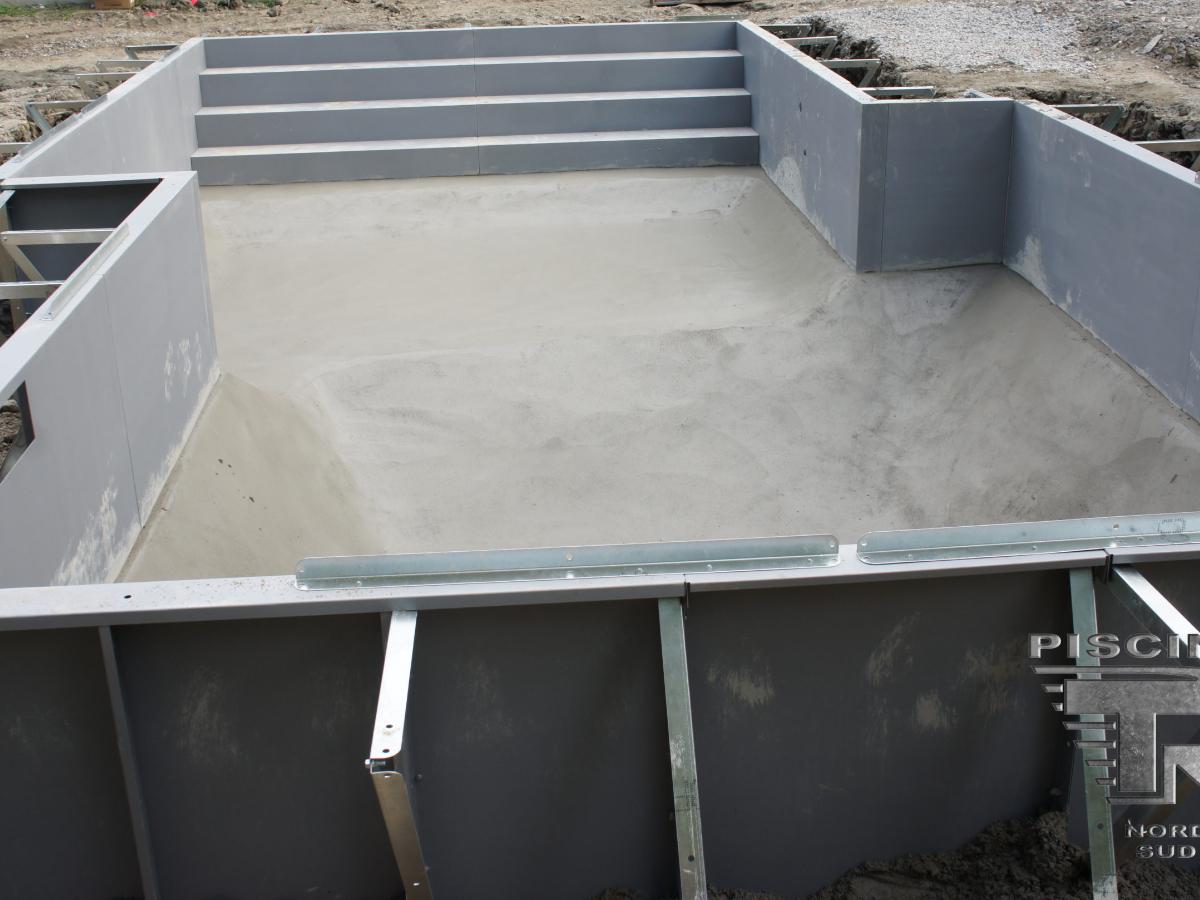
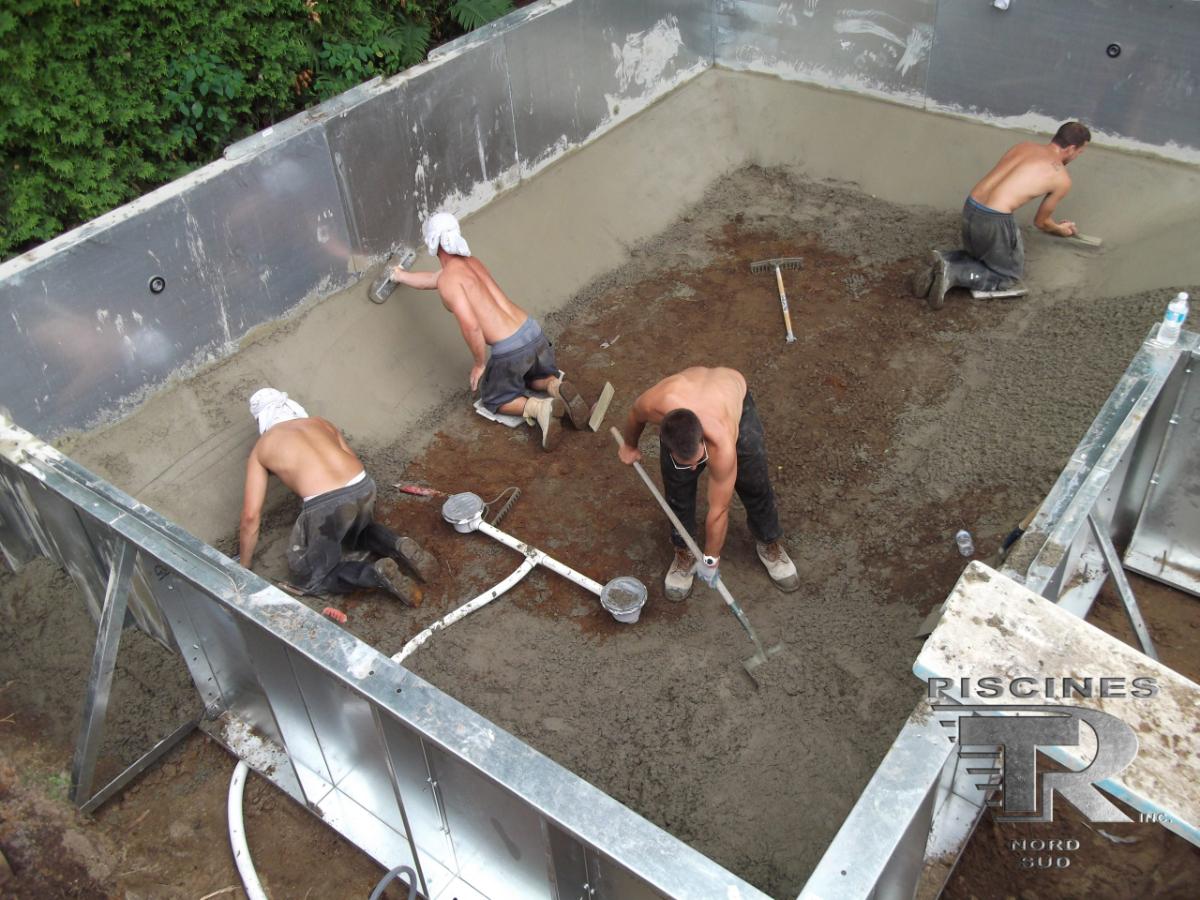
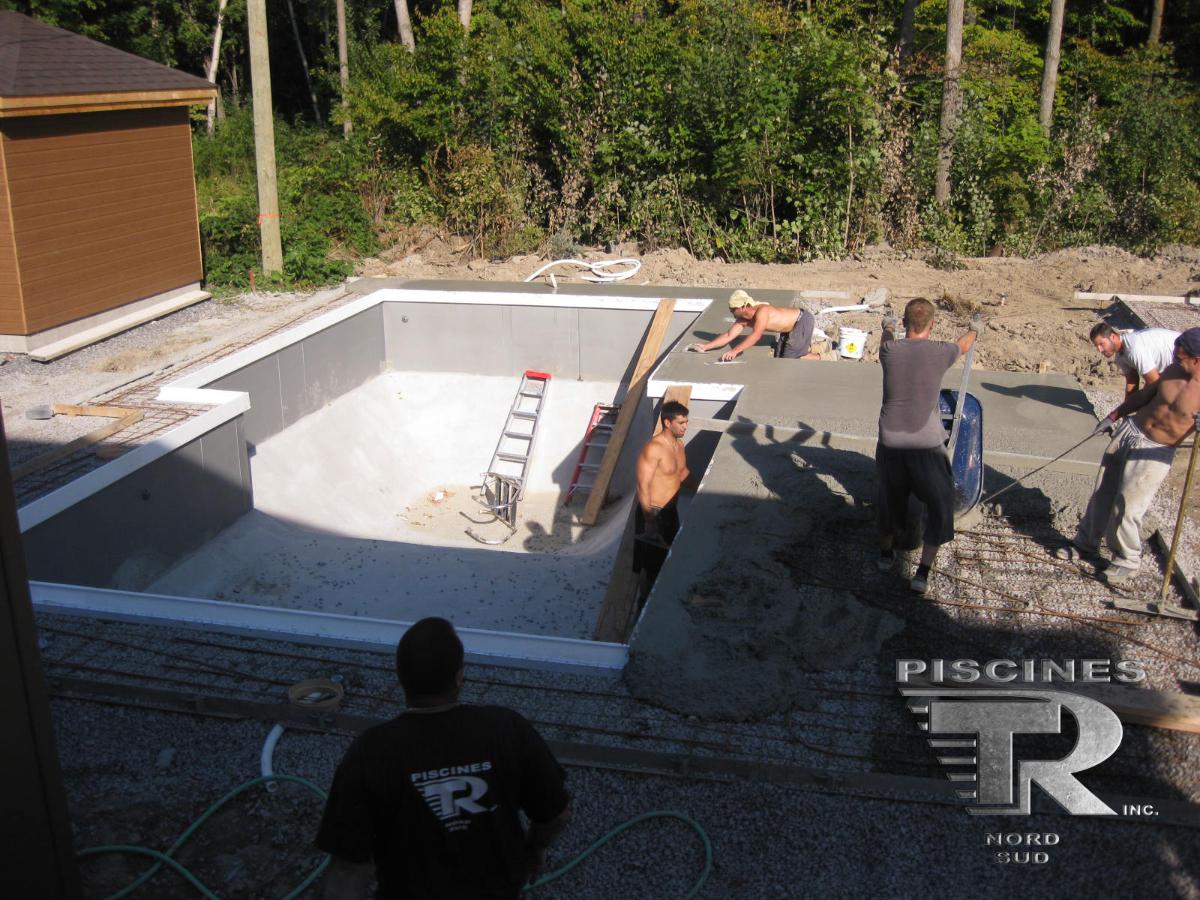
Pouring the Concrete Base
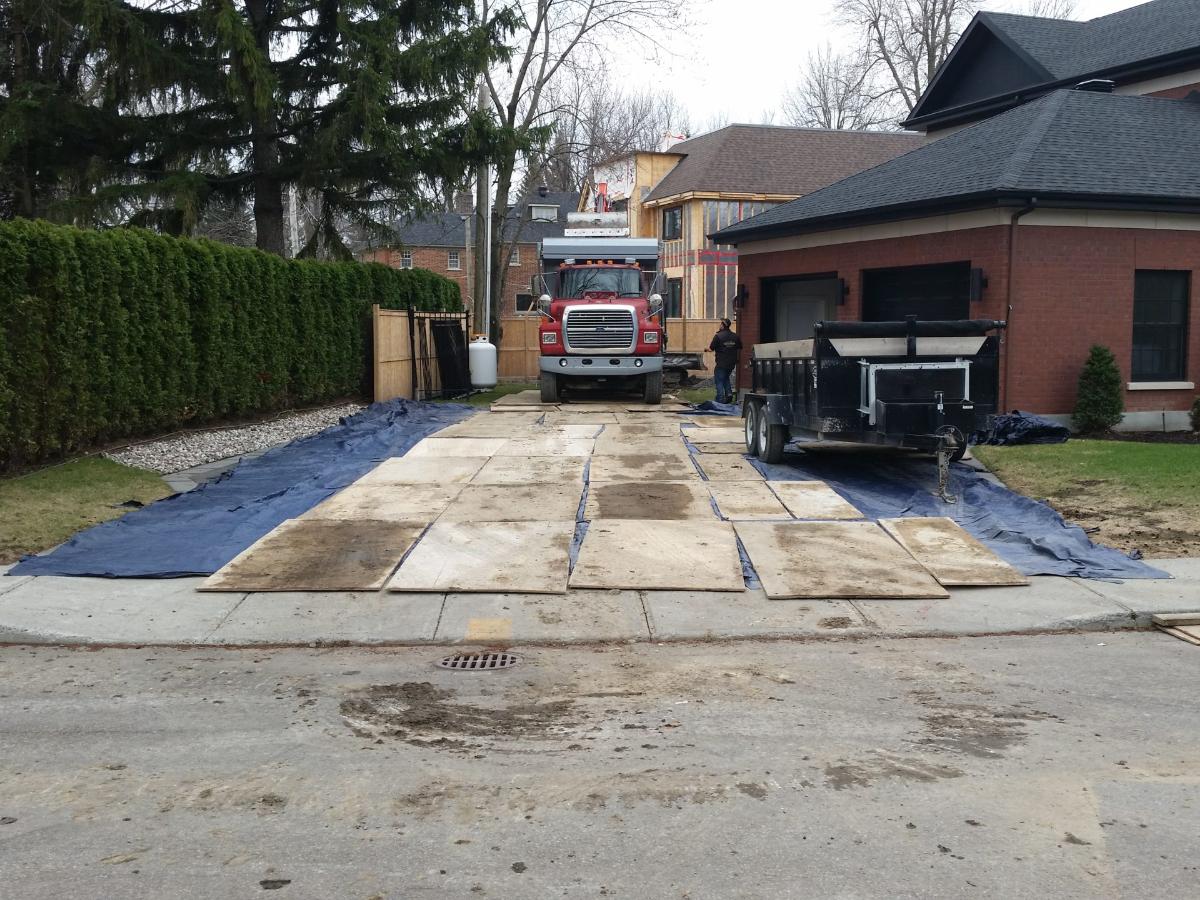
It is not uncommon to encounter situations where access to the in-ground pool does not allow the concrete mixer to reach the pool's edge. In such cases, the cement will be transported using wheelbarrows.
A concrete belt, commonly referred to as a "crown," will be poured outside the steel structure, including the X and 7 supports.
At this stage, ensuring the pool is perfectly level is crucial. The concrete is spread manually, one shovelful at a time, with our specialists finishing the concrete as they go. The concrete used for the bottom and the belt is reinforced with fiber, which replaces steel reinforcement in pool bottoms.
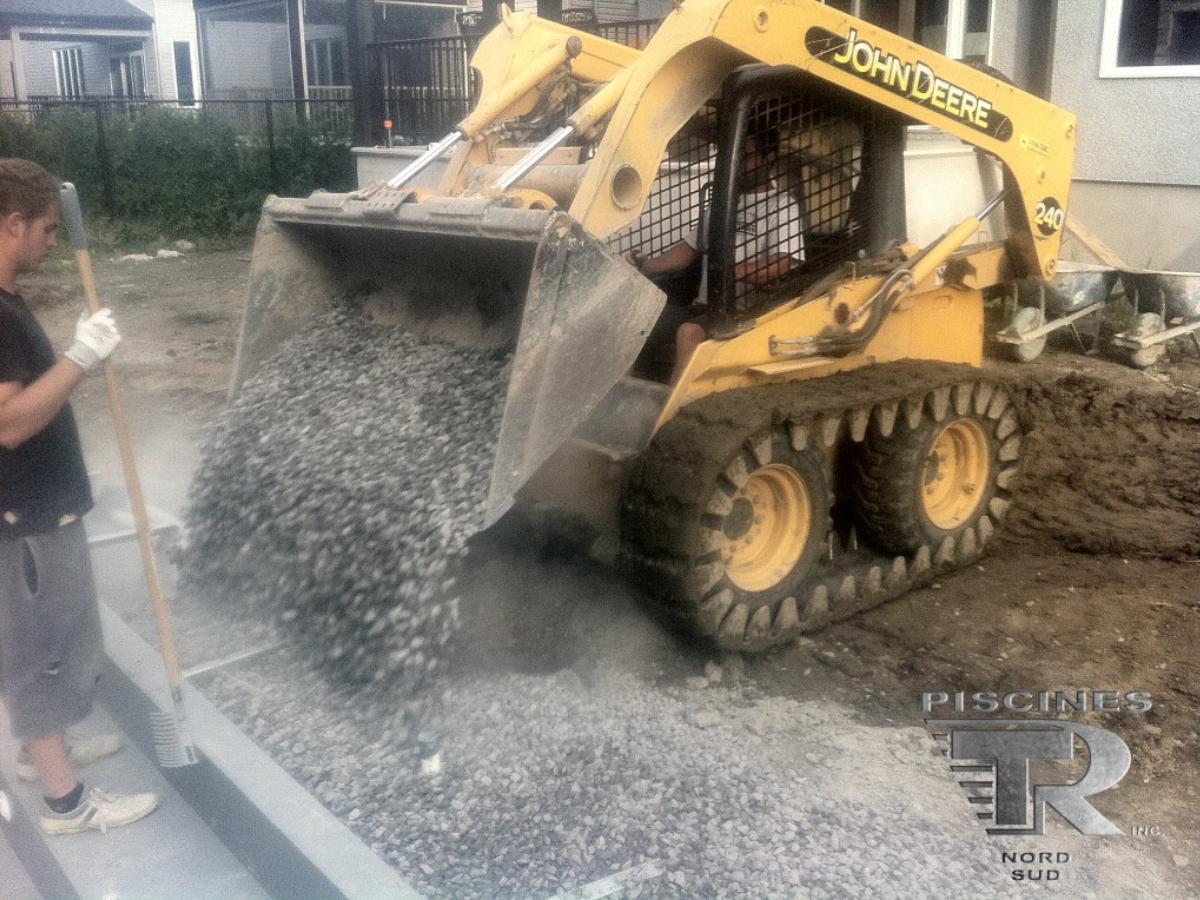
Backfill
Before backfilling your pool, our team will install the plumbing system, lights, and any other included accessories. A copper wire will be attached around the steel structure, which is crucial for grounding the in-ground pool.
Some installers use sand for backfilling, but we do not recommend this for several reasons, primarily related to freeze-thaw cycles.
Heavy rains and water accumulation can occur in fall. If this water does not drain effectively, it can freeze, creating pressure on the pool walls, steps, and sidewalk and potentially causing significant damage to your pool.
During the spring thaw, water can shift the sand and compact it onto the French drain, impairing its drainage capability. Over time, the drain could become filled with sand. Therefore, it is preferable to backfill an in-ground pool with "3/4 net" stone (not to be confused with "0 – 3/4" stone). This type of stone does not require compaction and facilitates drainage so effectively that your pool will remain drained even if the drain becomes clogged.
For sidewalks exceeding 3 feet, we will excavate these areas 12 inches from the surface. We will then spread a layer of 3/4 net stone, 8 to 12 inches thick, in the area beyond the 3-foot sidewalk. Finally, we will add the 3/4 net stone to prevent the sidewalk from settling.
Sidewalk Formwork
The installation team is now ready to proceed with the formwork for the sidewalk. Regarding the interior finishing of the pool, you have several options :
- A standard finish in aluminum, coated with white PVC.
- Concrete coping, known as concrete bullnose: in this scenario, the formwork will be crafted from Styrofoam. This distinctive finish offers seamless continuity to the sidewalk while maintaining consistent color.
- The initial coping row with either stone or interlocking pavers, followed by the remainder of the sidewalk in regular or stamped concrete.
Your sidewalk will be fortified with #9 wire mesh for a 3-foot sidewalk or an interlocking paver finish. Additionally, #10 "rode" will be attached to the wire mesh.
For patios or additional concrete, we utilize robust #6 wire mesh with meticulously installed metal rods to prevent potential cracks.
In certain cases, especially on large surfaces, installing helical piles is advisable to ensure a sturdy and long-lasting foundation for your concrete sidewalk. We prepare the anchor points for the ladder and any other necessary accessories.

Pouring the Concrete Sidewalk
A sidewalk around an in-ground pool should be at least 3 feet wide and encircle the entire pool structure, preventing any wall shifts. You can choose between regular concrete, finishing (for interlocking paver overlay), or stamped concrete for your sidewalk.
For the finishing touches on your sidewalk, various options are available:
Standard Finish: Broom or magnesium finish, available in natural or coloured gray (with multiple colour options).
Process: During the pouring process, concrete is transported using a wheelbarrow. Once spread, we level it with a rake before smoothing it using an aluminum screed ranging from 4 to 10 feet in length. Following this, the concrete surface is vibrated using a "bull float" to ensure smoothness and evenness.
After spreading the concrete, it needs time to harden before proceeding with finishing touches. We use a magnesium float for standard white concrete to create a roughened surface, providing a non-slip finish. Alternatively, a broom finish may be applied based on your preference.
Stamped Concrete: This option is highly popular due to its natural rocky surface appearance. While it may become slippery due to sealer application, Piscines TR applies a non-slip agent to mitigate this effect. Available in a wide array of colours and textures, stamped concrete will surely make your sidewalk stand out!
Process: The procedure remains consistent for stamped concrete, up to the point of finishing. Once the concrete achieves adequate hardness, we apply a powder known as "Release" across its entire surface. This powder serves dual functions: firstly, it imparts a secondary colour to the concrete for enhanced realism, and secondly, it prevents the concrete from adhering to the stamping plates.
Various plate patterns are available to create diverse designs. Following powder application, our team proceeds to stamp your sidewalk. Subsequently, we allow the concrete to further solidify before removing the "bullnose" (if this option has been selected). Finally, we utilize a damp sponge for the final touches.

Stripping the sidewalk and applying sealer
Upon completion of stripping, the sidewalk undergoes initial cleaning using either a broom or pressure washer, depending on the duration of hardening. Saw cuts are then made to facilitate slight sidewalk movement without random cracking.
Previously, some contractors integrated an empty plastic rod (expansion joint) directly into the concrete.
However, this approach is now uncommon and discouraged due to the potential long-term cracking of the plastic, which could lead to foot injuries.
Ultimately, the sidewalk undergoes a second washing before the application of sealer (glossy or matte, as per your preference), typically requiring 2 to 3 coats.

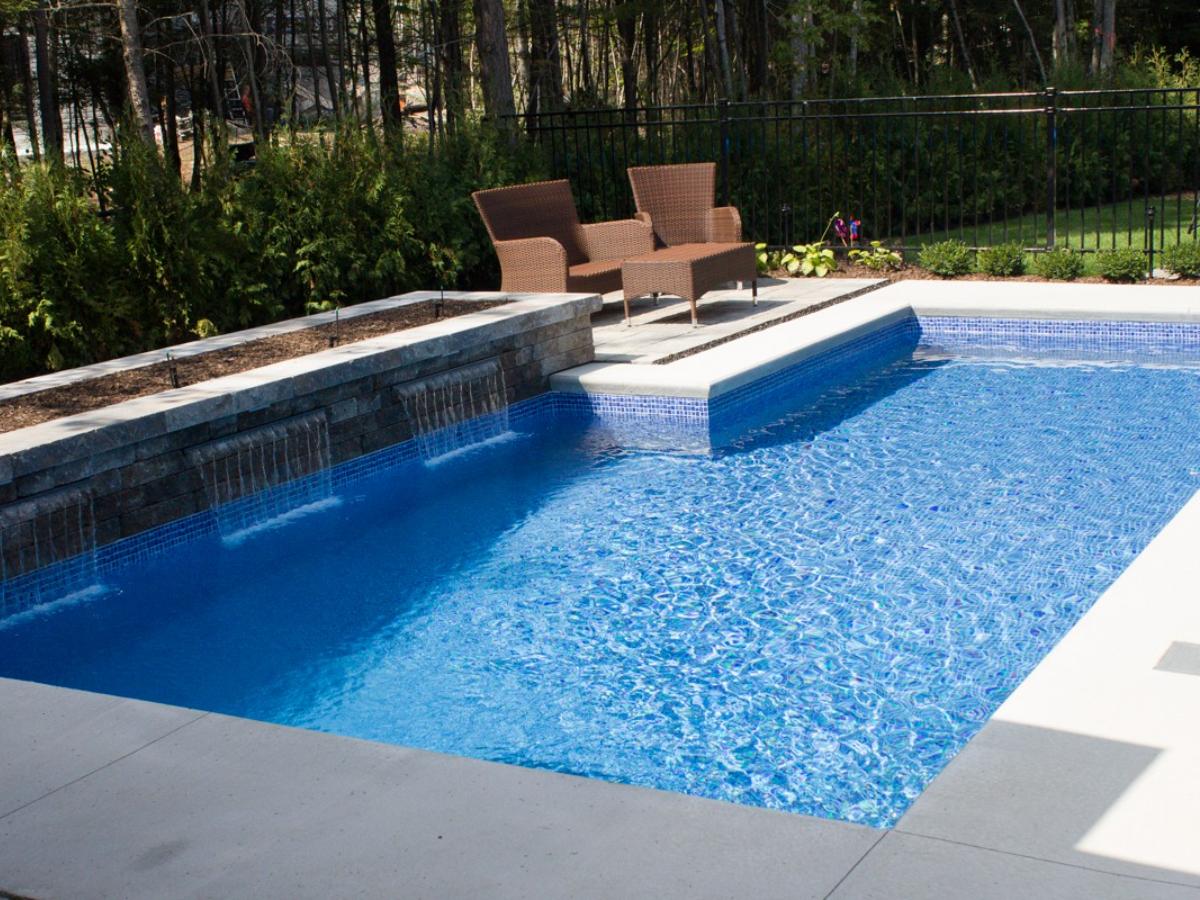
Liner Installation
Our top-quality liners are entirely manufactured in Quebec. We start by meticulously cleaning the concrete bottom and walls to ensure they are free from any imperfections.
Following this, a thorough water cleaning is conducted to eliminate all sand grains.
Once the liner is in place, we employ a blower-vacuum to remove air from underneath it, ensuring a secure adherence to the walls and bottom of the in-ground pool. This process is vital for preventing any potential wrinkles. 24 hours later, the installation of the facades and lights occurs.

Filtration System Installation
Various models from different brands and with different power levels are available on the market. When installing your filtration system, Piscines TR ensures you receive high-quality equipment that suits your pool.
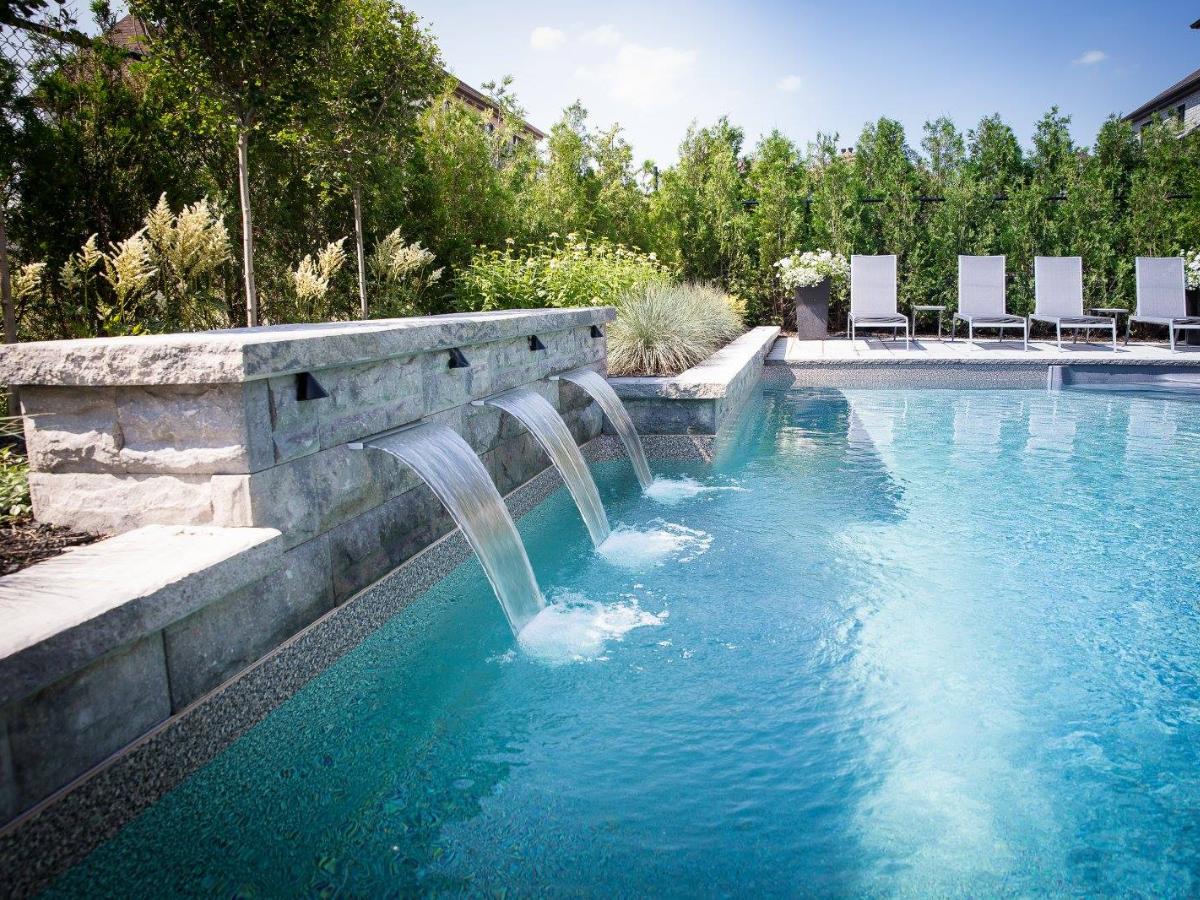
The plumbing setup for each in-ground pool varies based on factors like the inclusion of a heat pump, a slide, a waterfall, or spa jets in the stairs.
As a result, each of these options is clearly labelled with stickers on your valves and pipes. The entire above-ground filtration system is constructed using only rigid PVC pipes of 1½" or 2", depending on the type of pump and the distance between your pool and the filtration system.
Once these installation steps are completed, an electrician handles the equipment connections. If you don't have an electrician, Piscines TR can recommend an experienced one.

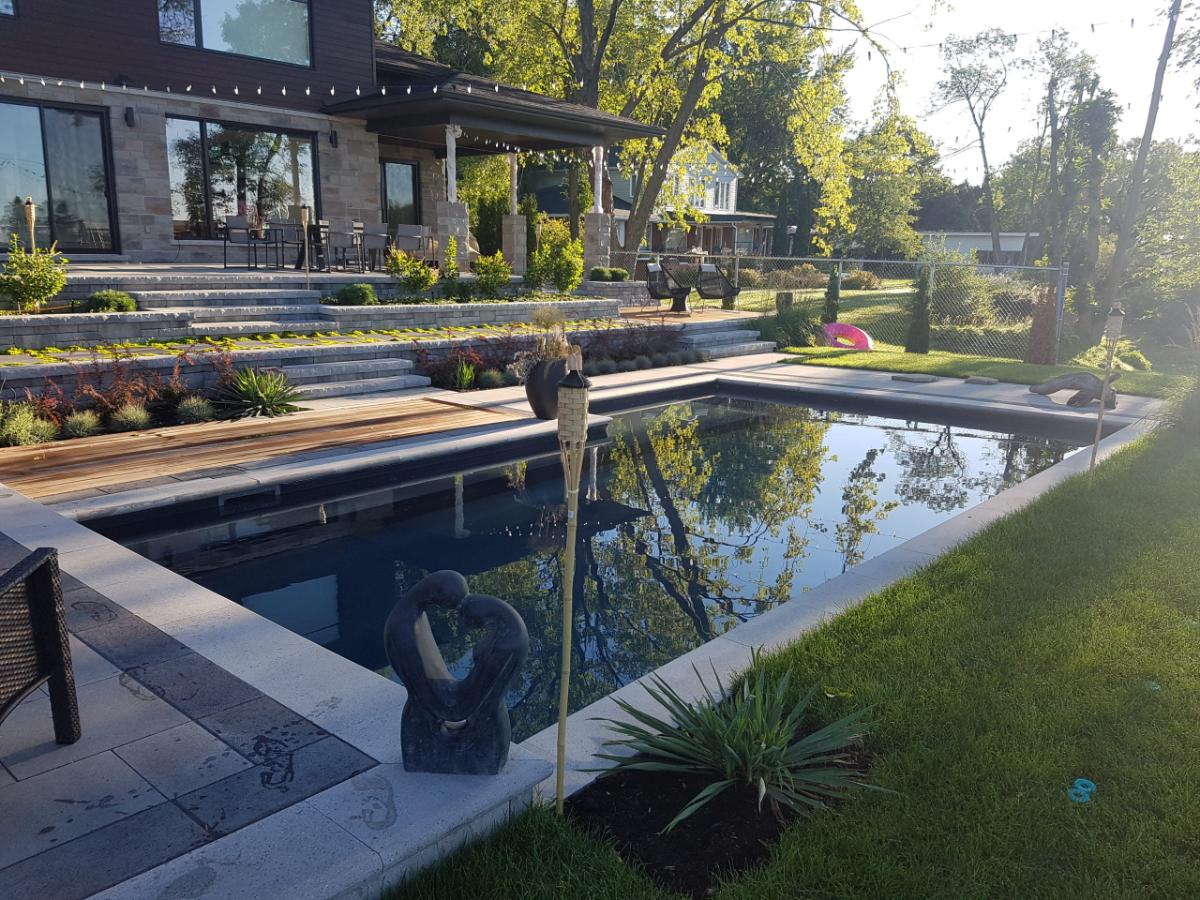
Pool Finishing and Operation
After we finish the filtration and electrical installations, we'll walk you through the entire operation of your pool and furnish you with a concise owner's manual.
We're always here to address any queries you may have.
Don't hesitate to reach out to us! Our aim is for you to make the most of your pool experience.