Rely on our company's expertise.
Simply the Best!…
Trust the Piscines TR team to manage every aspect of opening and closing your pool in Laval.

Our services
We are your reliable partner for repairing different parts of your inground pool.

Pool Specialist
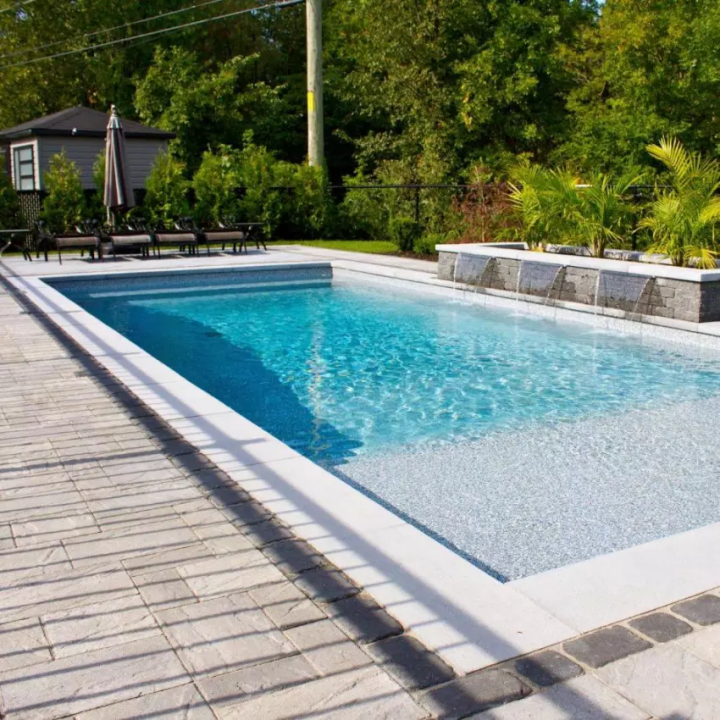
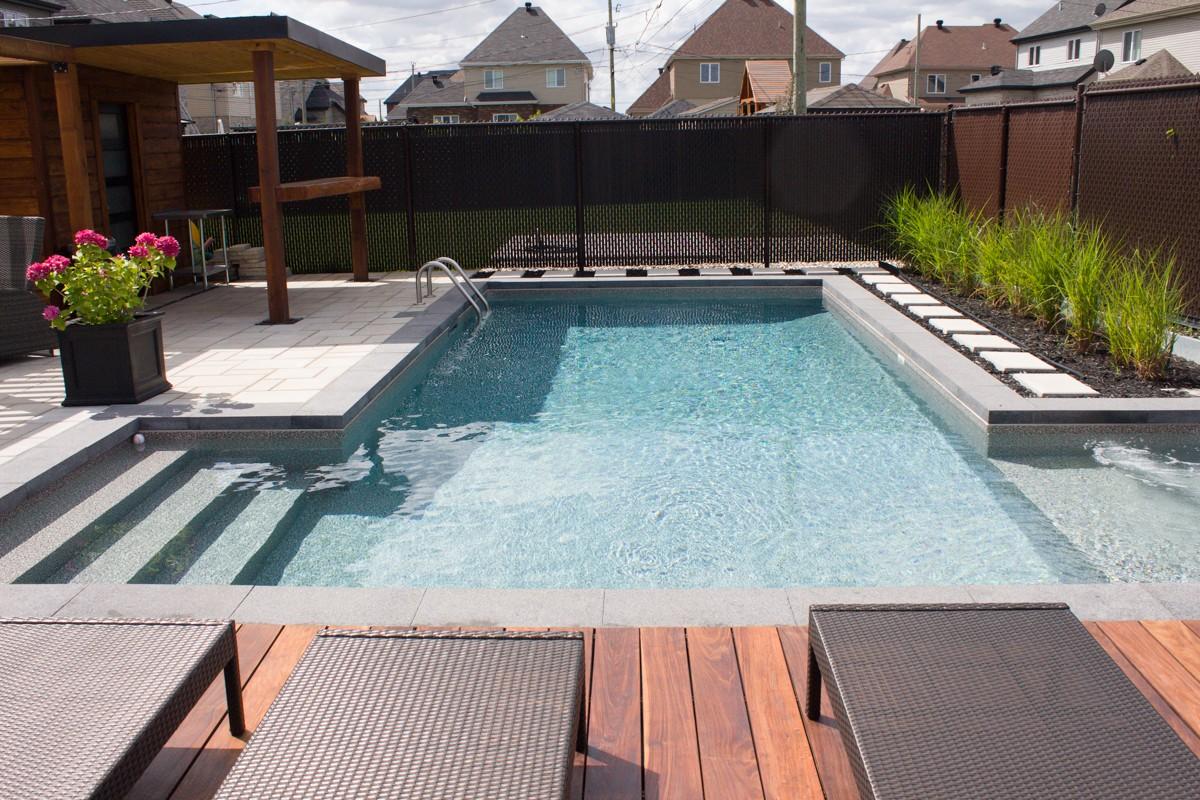
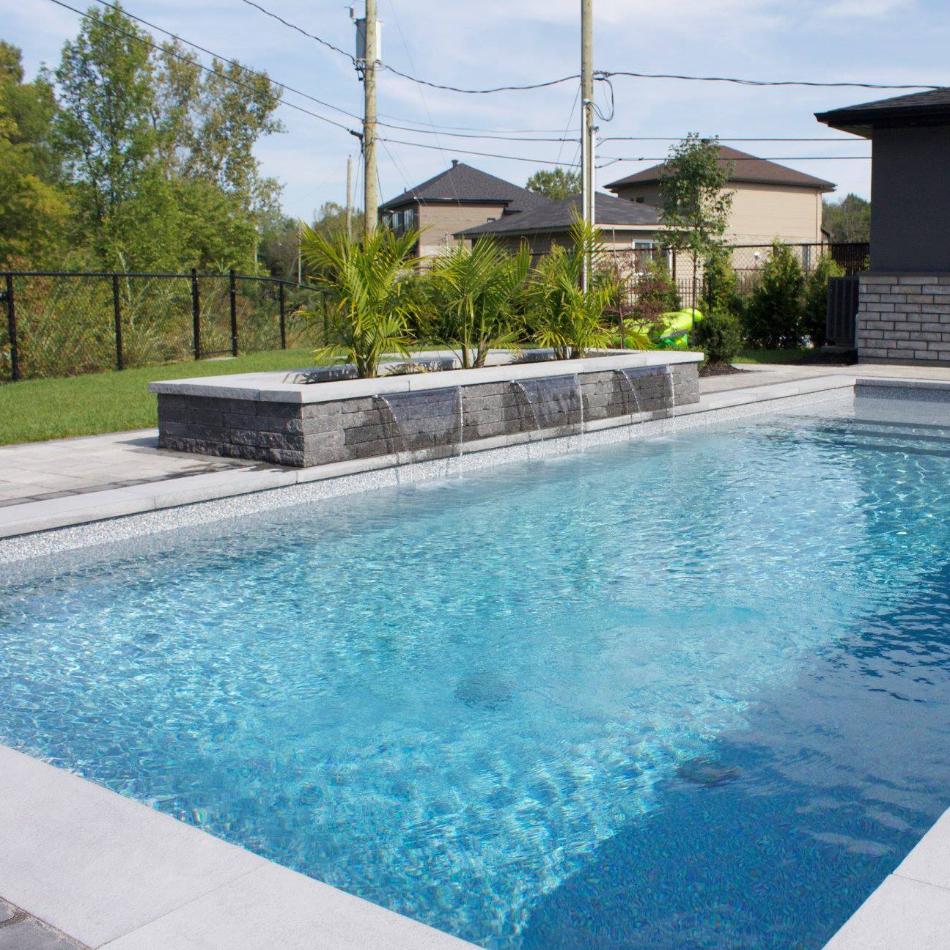
Piscines TR is your top choice for successfully completing various in-ground pool installation projects. We are dedicated to fulfilling all your needs in Laval and the surrounding areas.
Skilled Professionals for In-Ground Pool Installation in Laval
Count on our company's expertise to bring the pool of your dreams to life.
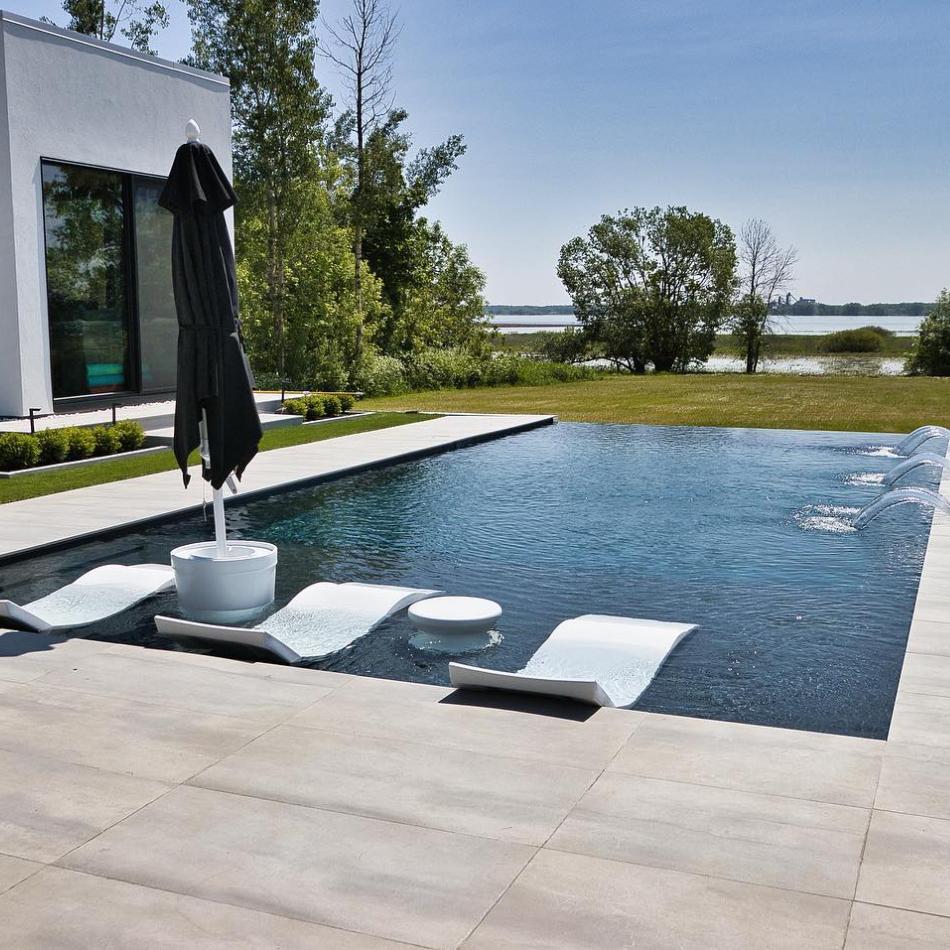
With expertise in in-ground pool installation, we provide a wide range of services. Entrust us with the complete design and construction of your pool.
Transform your pool into a tranquil oasis with the help of our technicians, who excel in various tasks. Whether it's the yearly opening or closing of your pool, or repairs, our team has you covered.
Turn to our pool installation specialists for quality workmanship.

Our Strengths
Our technicians are available to winterize your pool.
Our team has cultivated advanced skills in in-ground pool installation.
We pledge to deliver top-notch services, ensuring transparency and excellence throughout your pool project.
With a wide-ranging portfolio, we demonstrate our proficiency in various aspects of pool installation.
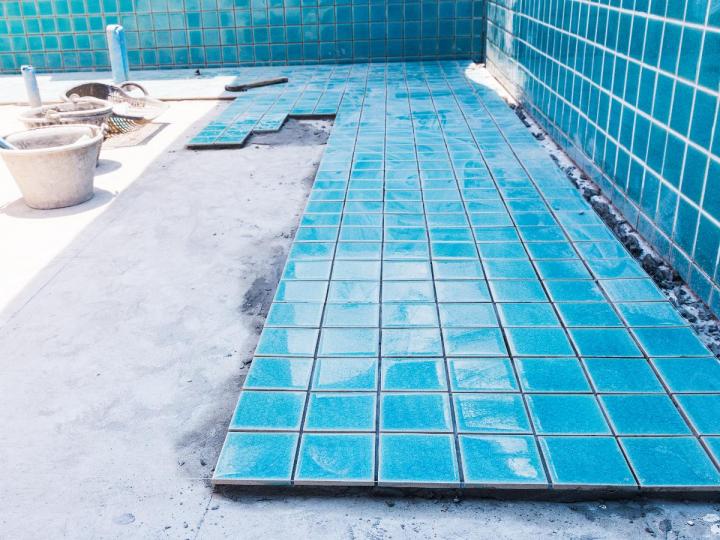
Our specialization encompasses installation, repair, and pool liner replacement.
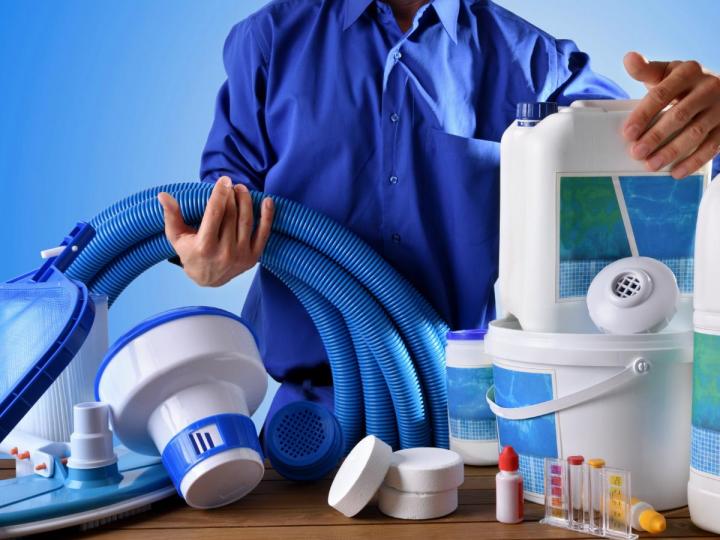
Your Specialist in Pool Enhancement and Maintenance
Committed to fulfilling your every need, Piscines TR delivers personalized services crafted to meet your specifications. Our team journeys to Laval and nearby regions to expertly handle your pool liner replacements. We provide tailored solutions to maintain the quality of your pool water.
Furthermore, our extensive inventory of pool accessories and parts ensures we have everything required to enhance and upkeep your pool area. Count on us for courteous, prompt, and dependable service.
Ensure your pool receives the best care by opting for the expertise of our specialists in Laval.

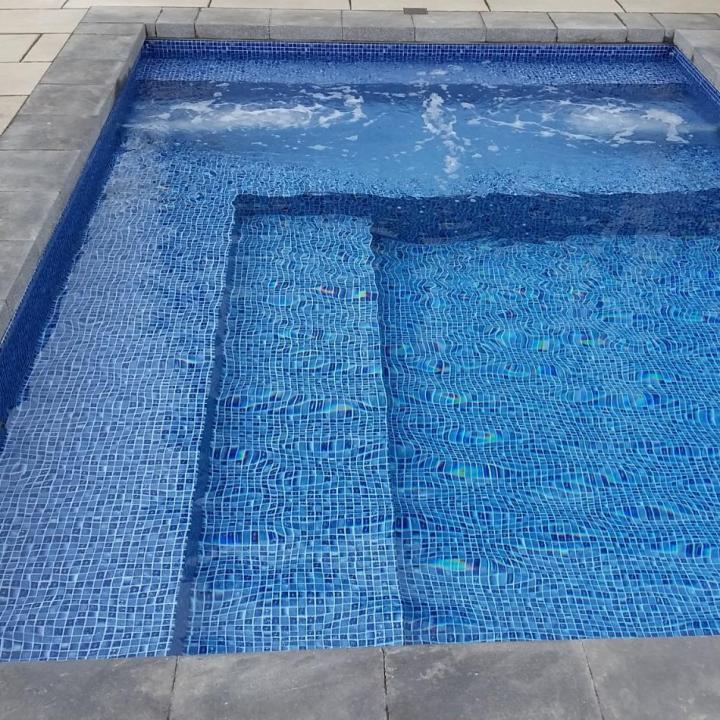
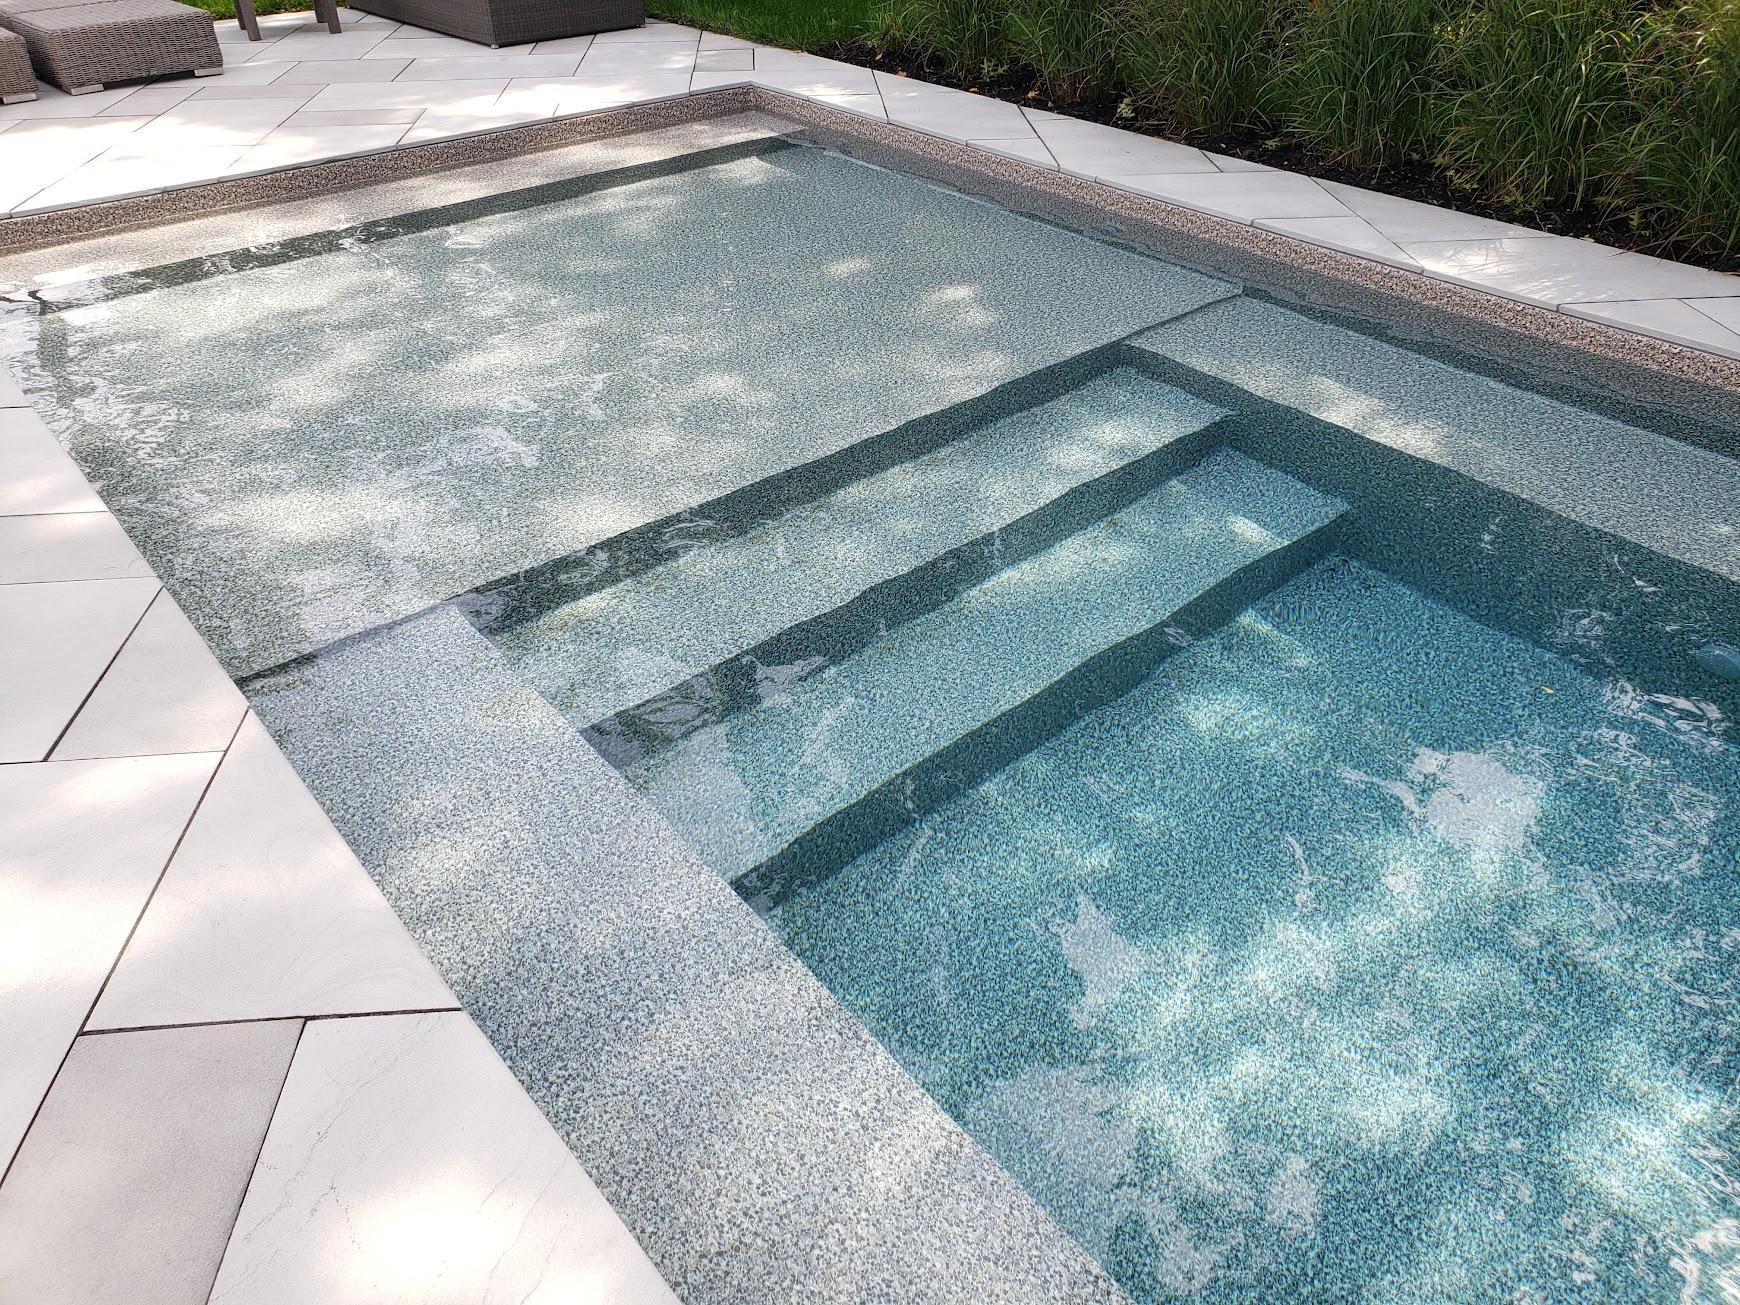
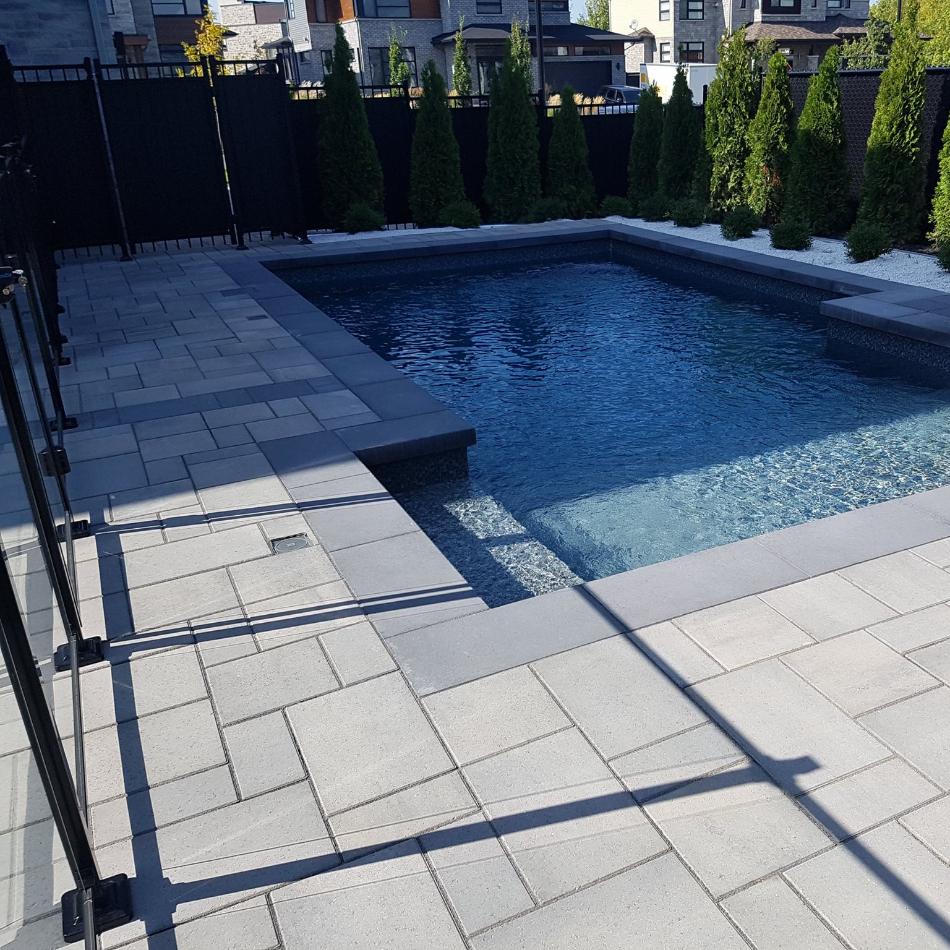
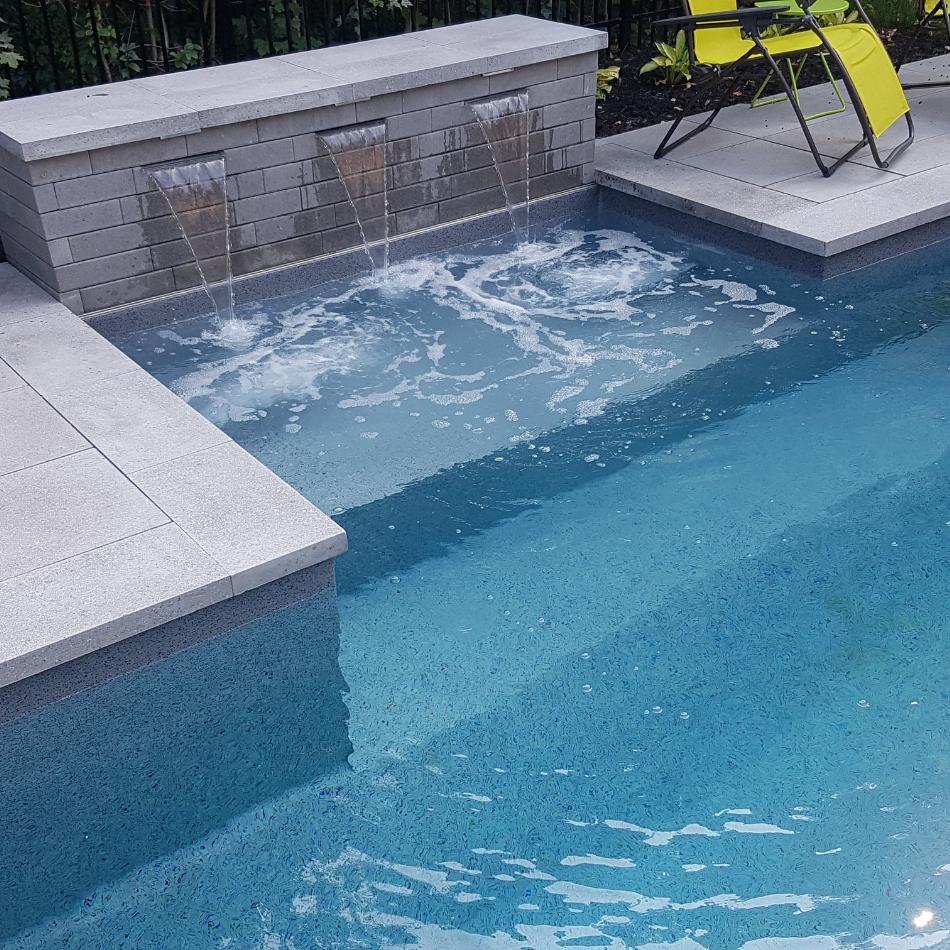
Our Work
Specializing in inground pool installations, we offer a range of services to ensure the success of your project.


Direct Links
Pool Opening
Conduct a BACKWASH daily after opening your pool for the summer season until the pool water clears. If you have a cartridge filter, skip this step.
Backwash: Used to cleanse the sand in the filter:
Turn off the motor and switch the filter to BACKWASH position (1 min).
Turn off the motor and switch the filter to RINSE position (20 sec).
Turn off the motor and switch the filter to FILTER position.
Once the water clears, vacuum the pool with the filter set to WASTE / DRAIN position.
Close the bottom drain and open the skimmer valve. While cleaning your pool in "waste/drain" mode, simultaneously add water, as this process will notably reduce the water level in your pool.
Saltwater System Aqua Rite and P-4:
Once the pool is clean, add the required number of salt bags (between 2 and 4).
Allow the salt to dissolve for 2 to 3 days.
Aqua Rite: Afterward, switch your salt system to AUTO mode or reconnect your cell.
P-4: Reconnect your cell and press DIAGNOSTIC; then press the right arrow and then +; a salt reading will be displayed in a few seconds.
Ideal salt level: 2800-3300 PPM. Adjust your chlorine % using a chlorine test (ideally testing once every 2 weeks).
If the chlorine is too low: increase the %
If the chlorine is too high: decrease the %
Recommendation: Once all steps are completed, we recommend having your water analyzed to ensure its quality.
Proper Cleaning of Your In-ground Pool
1. Connect your hose to your vacuum.
2. Position your vacuum in the deep end.
3. Fill your hose by slowly submerging it into the water; it will fill by gravity (the same method can be used with automatic robots).
4. Connect the end of your hose to your white plate.
5. Insert it into the skimmer over your skimmer basket. Keeping your skimmer basket in place when cleaning your pool is crucial to prevent large debris from blocking your filtration system.
6. Close your bottom drain to maximize suction at the skimmer.
7. After completing the operation, you can initiate a backwash.
If your pool is dirty, direct the water directly to the street by setting the filter to the waste or drain position (depending on the model) or, if you have a cartridge filter, use a valve to divert the water so that it doesn't soil your cartridges.
If the vacuum becomes stuck to the bottom, open the bottom drain valve to reduce suction in the vacuum.
***CAUTION: Never set the filter to backwash position when cleaning it.
Salt System - Aquarite
AQUARITE
Add the amount of salt indicated by your installer to the pool.
Wait 24 to 48 hours for the salt to dissolve in the water.
Set the system to AUTO mode.
After 24 hours, the system will display a number. For example: 3200 (the ideal number is between 2800 and 3400).
This number corresponds to the salt concentration (calculated in PPM) in your pool water.
Divide this figure by the number of bags added to the pool.
This will give you the PPM per bag of salt.
If the indicated level is too low, add one or more bags, always calculating the PPM per bag.
ONCE THE CORRECT SALT LEVEL IS ACHIEVED
Adjust the chlorine production percentage.
Test the chlorine using chlorine analysis instruments.
If the test reveals:
Low chlorine, increase the %
High chlorine, decrease the %
The chlorine percentage varies depending on the outside temperature (remember to test your chlorine in the fall).
The Super chlorinate option is used for shock treatment for the pool (useful during heatwaves, rather than increasing the %). The treatment duration is 24 hours. The system then automatically switches back to AUTO mode.
When the following indicator lights flash:
Add salt: add salt
Inspect cell: check the cell
Simply add salt, one bag at a time.
IMPORTANT
Never add algicide or chlorine during summer. Do not confuse them; salt and chlorine are different. If you perform a chlorine test and the result is low, increase the % of salt.
When the Inspect cell light is on, hold down the small Diagnostic button for 5 seconds (this will RESET the system).
Happy swimming!
Salt System - Operation
Operation of a Salt System
To turn the motor on or off, press FILTER.
Press MENU to scroll through the different menus.
Select the arrow –> and (+ or –) to enter a menu to change options.
Once the salt has been added to the pool, let it dissolve for 2 days.
Reconnect the salt cell.
Wait 24 hours to obtain an accurate reading.
The ideal range is 2800 - 3300) Scroll through the menu using the arrow –>.
Divide the obtained number by the number of salt bags added to the pool, and you will get the number of ppm contained in one bag for your pool.
SETTINGS MENU
Pool Heater: Adjust the water temperature using the (+ or -) buttons.
The Super chlorinate option is for shock treatments (use during heatwaves).
Set the desired chlorine % (test using strips, preferably in the morning) (setting menu).
If the chlorine test result is too high, decrease the %. If too low, increase the %.
DIAGNOSTIC MENU: Provides salt level and system function information.
For an immediate salt reading:
Navigate to diagnostic in the menu,
press the right arrow,
then press +,
a message with a 15-second countdown will appear,
check the PPM section at the bottom right of the display.
if PPM is below 2700 ppm, add bags to reach the ideal range (2700 - 3400 ppm);
if above 3800 ppm, lower water level and add unsalted water.
When the system light is on: Scroll through the menu by pressing the right arrow until "hold + to reset" appears.
In this case, hold + until the system light turns off.
If there's no "Reset" message, check salt level in the diagnostic menu.
IMPORTANT
Never add algaecide or chlorine during summer. Do not confuse them; salt and chlorine are different. If you perform a chlorine test and the result is low, increase the % of salt.
When the Inspect cell light is on, hold down the small Diagnostic button for 5 seconds to RESET the system.
Happy swimming!
Filter Operation
Air in the Pump
Is your pump strainer not completely filled with water, or is water simply not reaching it?
If your pump strainer fills with water and then suddenly empties after a few seconds, there is likely a break in your suction lines (skimmer or bottom drain piping). A plumbing test to detect the leak will be necessary.
If your pump always has difficulty filling with water or never fills at all, the issue might be due to poor sealing at the base of the suctions (skimmer and bottom drain). If your pump is blocked, it will become noisier as it struggles to draw in water. A plumbing test and an examination of your piping and pump will be necessary to check for blockages.
Feel free to ask any questions; we guarantee a response within 24 hours!
Air in the Pump
Is your pump strainer not fully filled with water, or is water simply not reaching it?
If your pump strainer fills with water and then suddenly empties after a few seconds, there is likely a break in your suction lines (skimmer or bottom drain piping). A plumbing test to detect the leak will be necessary.
If your pump consistently has difficulty filling with water or never fills at all, the issue might be due to poor sealing at the base of the suctions (skimmer and bottom drain). If your pump is blocked, it will become noisier as it struggles to draw in water. A plumbing test and an examination of your piping and pump will be necessary to check for blockages.
Feel free to ask any questions; we guarantee a response within 24 hours!
Sand Replacement
Changing the Sand or Cartridges
THE SAND
Are you having trouble clearing up your pool water or keeping it clear? It is probably time to change the sand to fix these issues.
Let us take care of this for you! Our specialists can assess the condition of your filtration system's internal and external parts and recommend ways to keep it in excellent condition.
Cartridge Replacement
CARTRIDGES
Your filter operates using cartridges. To extend their life, it is essential to direct the water to the street in the spring. If your cartridge filter is appropriately sized for your pool, you should replace it approximately every four years.
If you notice water streaks on your filtration system, it is very likely that your sand or cartridges need to be replaced.
Contact us if you have any questions! Our experts will respond within 24 hours!
Water Streaks on Your Filtration System
Have you noticed one or more water streaks on your filtration system?
Possible Issues:
Your filter sand or cartridges may need replacement, as accumulated dirt can obstruct water circulation and increase pressure in your filtration system.
The power of your pump in GPM (gallons per minute) might exceed your filter's capacity, causing water streaks in the short or medium term due to excessive pressure.
The plumbing, made of black pipes called "corlon," was once common for filtration systems. Since these pipes can't be glued, their ends must be heated and tightened with metal clamps to achieve a good seal. Repeated removal and replacement of these clamps can reduce their efficiency over time, necessitating replacement.
Pipe sizes can vary between filtration systems. Often, the plumbing restricts water circulation too much, causing the motor to work harder and significantly increasing system pressure.
If you have any questions, don't hesitate to contact us. One of our experts will respond within 24 hours, guaranteed!
Water Around Your Pump:
Have you noticed water accumulating around your pump?
Possible Causes:
The motor's water seal, which prevents water from reaching the motor, may be worn or damaged. When this occurs, water drips into a small safety cavity to protect the motor. You will see water around your pump without a visible source; the seal needs replacement.
The small plastic bolts at the front and side of your pump might not be properly in place. These bolts are intended to drain your pump during winterization. Ensure these bolts are in place when opening the pool; if not, it could cause a slight water leak.
The metal bolts or the clamping ring at the back of your pump may need tightening. These components create the seal between the strainer and the motor of your pump.
If you have any questions, feel free to contact us. Our experts will respond within 24 hours, guaranteed!
In Case of a Water Leak
If you frequently add water to your pool because the water level drops faster than usual:
First, check the ground near your filtration and heating equipment for any visible signs of water.
Ensure that water is not leaking out onto the street through your "backwash" return hose (also referred to as the "drain hose") when your filter is set to the FILTER position. If it is, you'll need to replace or reattach the seal on the filter head.
To verify whether the issue is caused by evaporation:
Fill a bucket halfway with water from your pool.
Use a pencil to mark the water level inside the bucket.
Repeat this process around your pool skimmer.
Position the bucket on one of your pool steps or ladder so that the water temperature matches that of the pool water.
Wait 24 hours and compare the water loss in the bucket to that of the pool.
If the water loss is similar, it indicates evaporation.
If you're experiencing water loss in your pool and are certain it's not due to evaporation:
Trace a pencil line around your skimmer at the pool's water level.
Allow your filtration system to run for 24 hours.
Measure the amount of water lost.
Make another pencil mark around the perimeter of your skimmer to match the new water level.
Switch off your filtration system for 24 hours.
For greater precision:
It's best to seal off the water outlets and inlets to fully isolate the pool plumbing during these steps. This will pinpoint the origin of your water leak, helping us determine if it's from your plumbing or your liner.
DIAGNOSTIC:
If you've lost a similar volume of water with the filtration running and stopped, the leak could be from your liner, stairs, or lights.
If you've lost more water while the filtration system was operational, the leak likely originates from your plumbing, necessitating a pressure test.